Mapping a template tells CoVet exactly where to place information from your template when it is sent to Avimark.
There are multiple articles that will help you with different aspects of the Avimark connection.
Use these links to jump between these articles quickly.
Important to read before using the connection
How to use the connection following set-up
Mapping templates with the Avimark connection ensures that when you use the Export to PMS button in CoVet, all your notes and details are automatically transferred in the correct way.
Proper mapping streamlines your workflow and helps ensure that all information is organized accurately on the Avimark side. This can be done when you initial setup your Avimark Connection, but here are two other ways you can map your CoVet Templates to Avimark.
From Templates
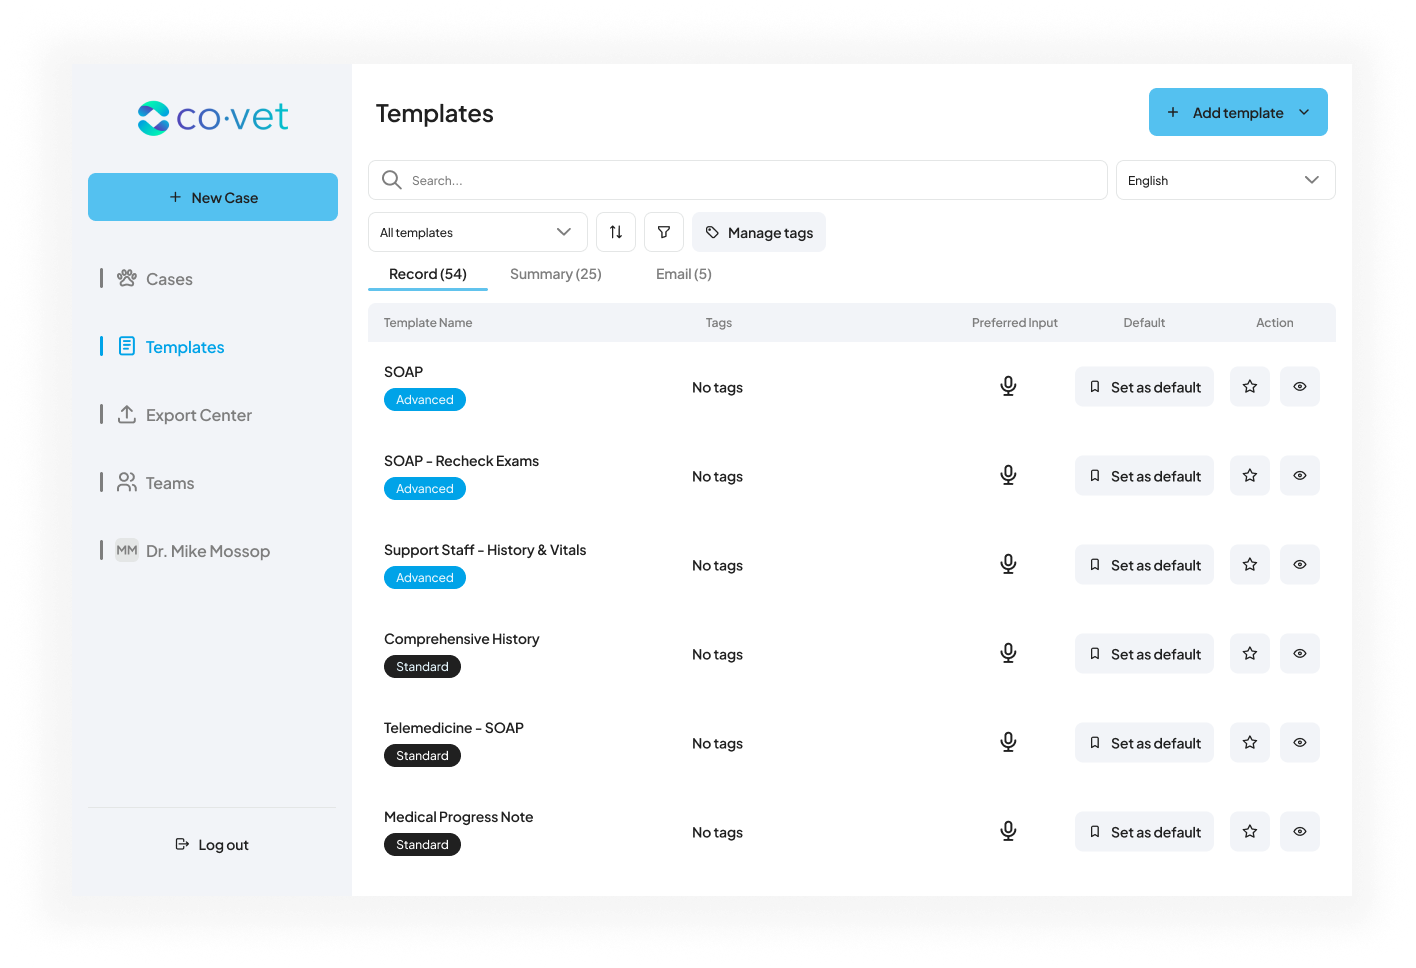
1. Open the template you want to map
Click on Templates in the left-hand navigation bar. Then, select the specific template you want to map. For this example, choose the Advanced SOAP template.
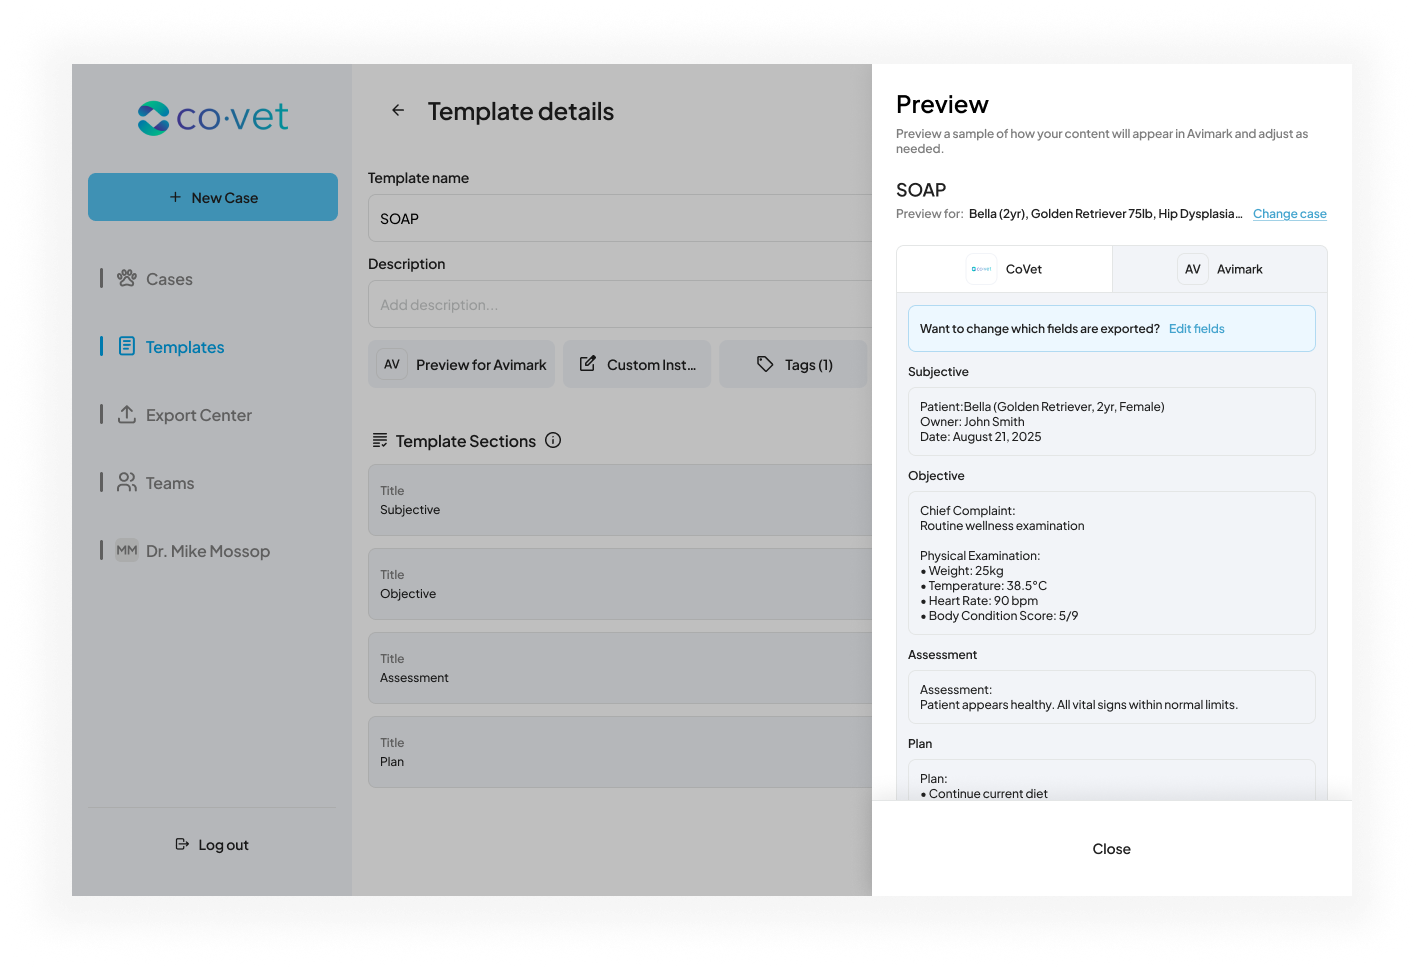
Once you're on the template screen, locate the Preview for Avimark button near the top left corner. Click this button to begin mapping the template.

3. Review the automated template
A new window will appear, prompting you to review the mapping for the CoVet sections and how they would appear in Avimark. Here, you can make any changes to the automated mapping suggested by CoVet. If you need to make any changes, click Edit fields.
From a Case
1. Go to a CoVet Case
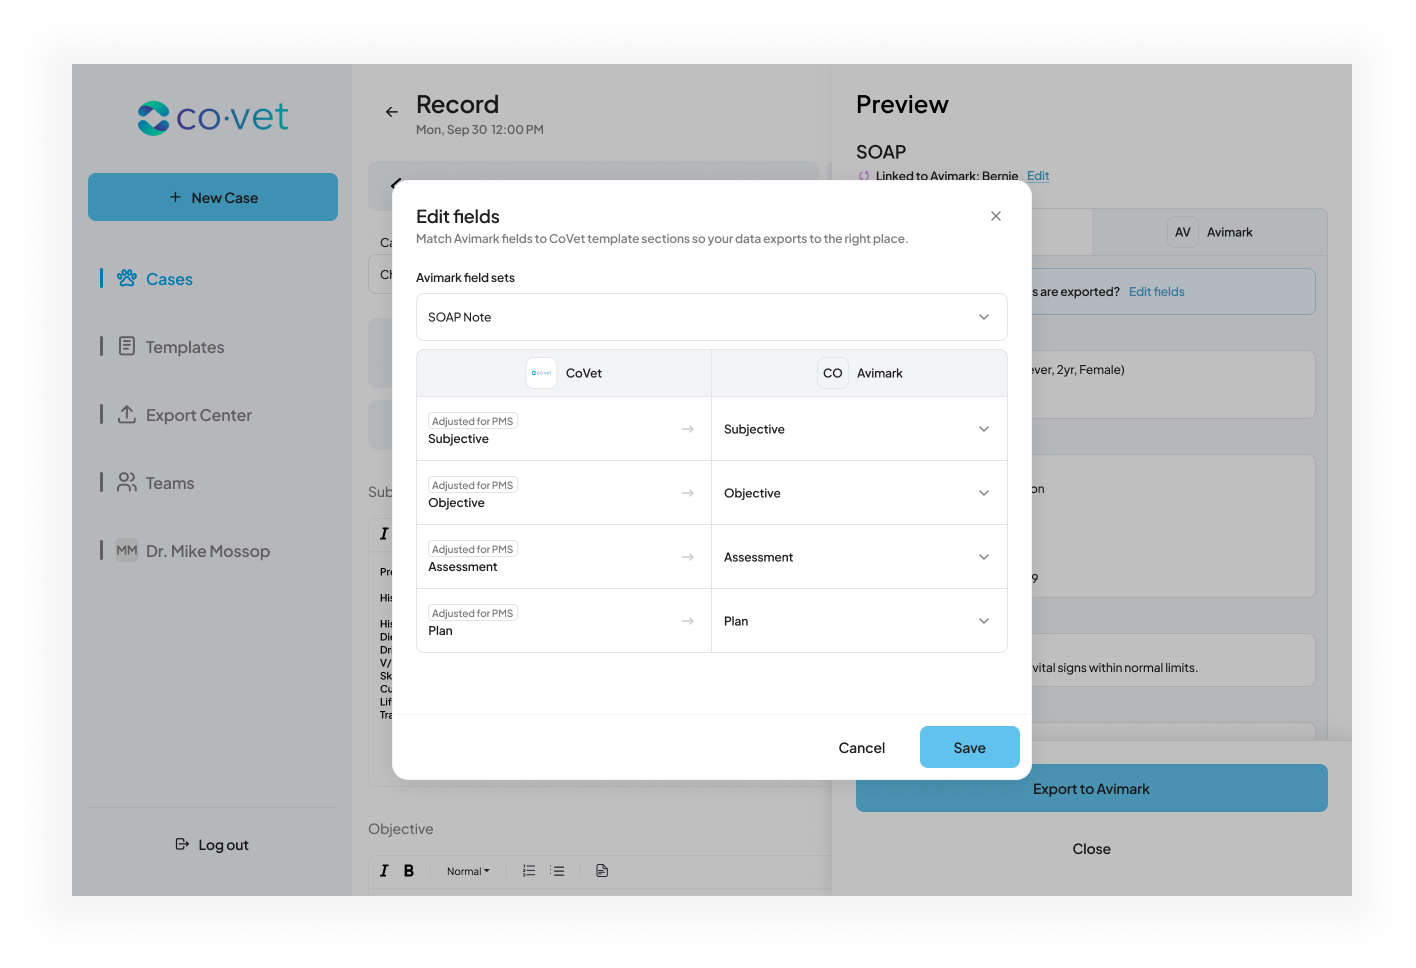
From one of your Cases on CoVet, from the record, you can select Export to Avimark at the top right.

2. Review the Template Mapping
On this screen, you can review how the record will appear in Avimark. If this is not to your liking, you can click Edit fields to make any changes in how your CoVet template is mapped to Avimark
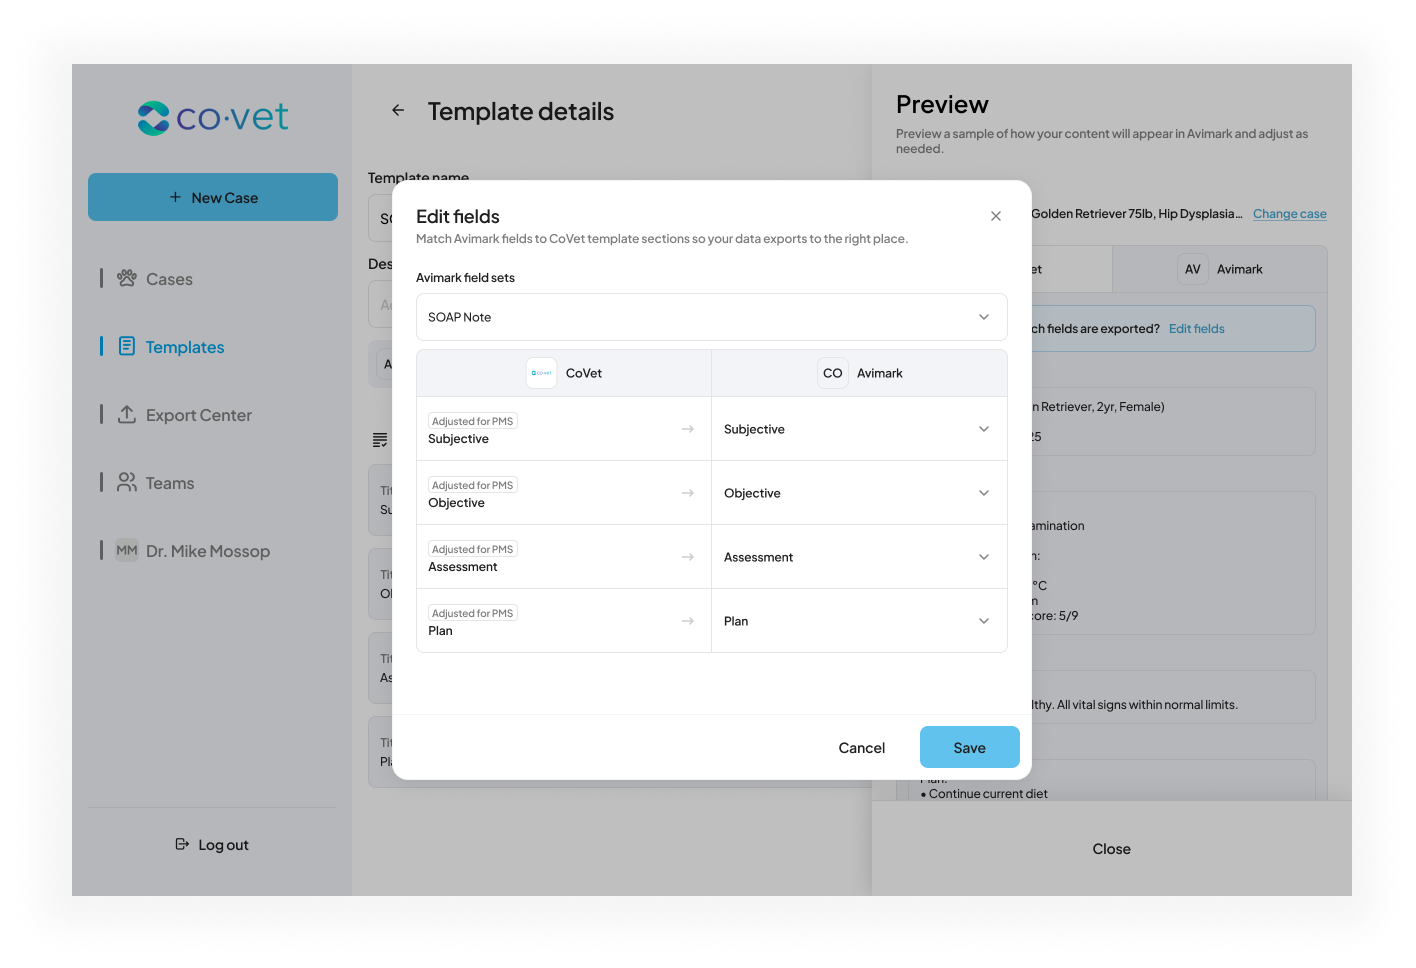
 3. Edit fields of the template
If the template needs to be configured to map differently into your PMS, you can click on the different sections to make any adjustments.
Once you are happy with your changes, click Save.
Was this article helpful?
That’s Great!
Thank you for your feedback
Sorry! We couldn't be helpful
Thank you for your feedback
Feedback sent
We appreciate your effort and will try to fix the article