Setting up the Merlin integration allows CoVet to automatically sync appointments and medical records between your practice management system and your CoVet workspace.
Once the Merlin integration setup is complete, you’ll be able to import cases, link them to Merlin appointments, and export records back to Merlin with ease.
There are multiple articles that will help you with different aspects of the Merlin integration.
Use these links to jump between these articles quickly.
Important to read before using the integration
How to use the integration following set-up
1. Navigate to Integrations from the My Account page
Click on your name in the top navigation to open the My Account page. Once there, select Integrations from the available menu options to proceed.

2. Select and configure the Merlin integration
Click the Purchase and Configure button located under the Merlin tile.

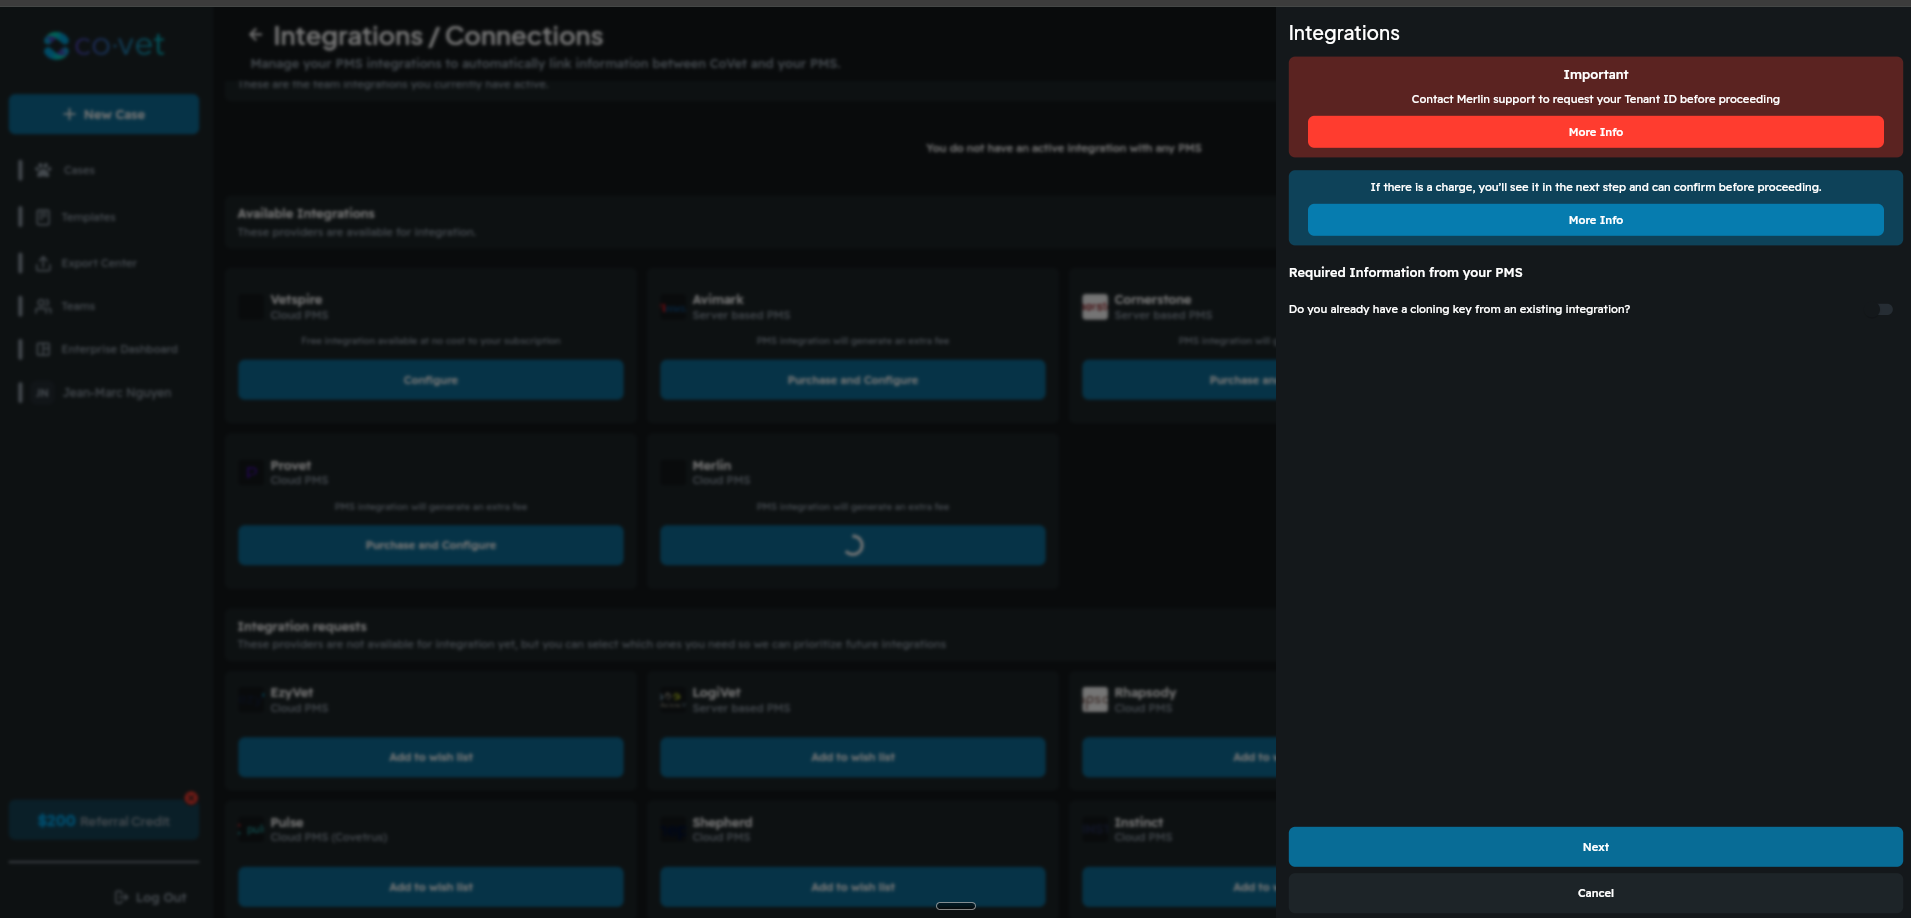
3. Review the steps for the integration process
The next screen will clarify the steps needed to setup an integration with CoVet. Please review these steps and the links to any limitations with this Practice Management Software:
4. Confirm the paid integration with Merlin
In the pop-up that appears indicating you are configuring a paid integration with Merlin, review and note the associated charges. Once ready, click Confirm to proceed. This action will trigger another pop-up confirming that you are setting up a paid integration with Merlin.
Important note about pricing
The price shown in the image is not representative of the actual cost for your clinic.
Pricing is based on a monthly fee of $35 USD per Merlin server, as is not affected by the number of users.
This integration fee will appear on your usual CoVet invoice and will renew according to your regular billing cycle (monthly or annual) until the integration is deleted.
5. You'll receive confirmation your integration request has been submitted
Wait for processing and activation
After this confirmation step, you may need to wait two to three business days before proceeding. During this time, your information request is sent to Merlin, who will contact your clinic directly to complete the necessary steps.
Once this process is finished, CoVet will receive the required information and you will receive a notification when your Merlin integration is activated.

6. Proceed when you see the "Ready for Setup" indicator
After receiving the activation notification, return to the integrations screen. The Merlin tile will now display Ready for Setup. To continue, click the Manage integration button.
7. Enter your Tenant ID
In the pop-up window, enter your Tenant ID, which will have been provided by Merlin.
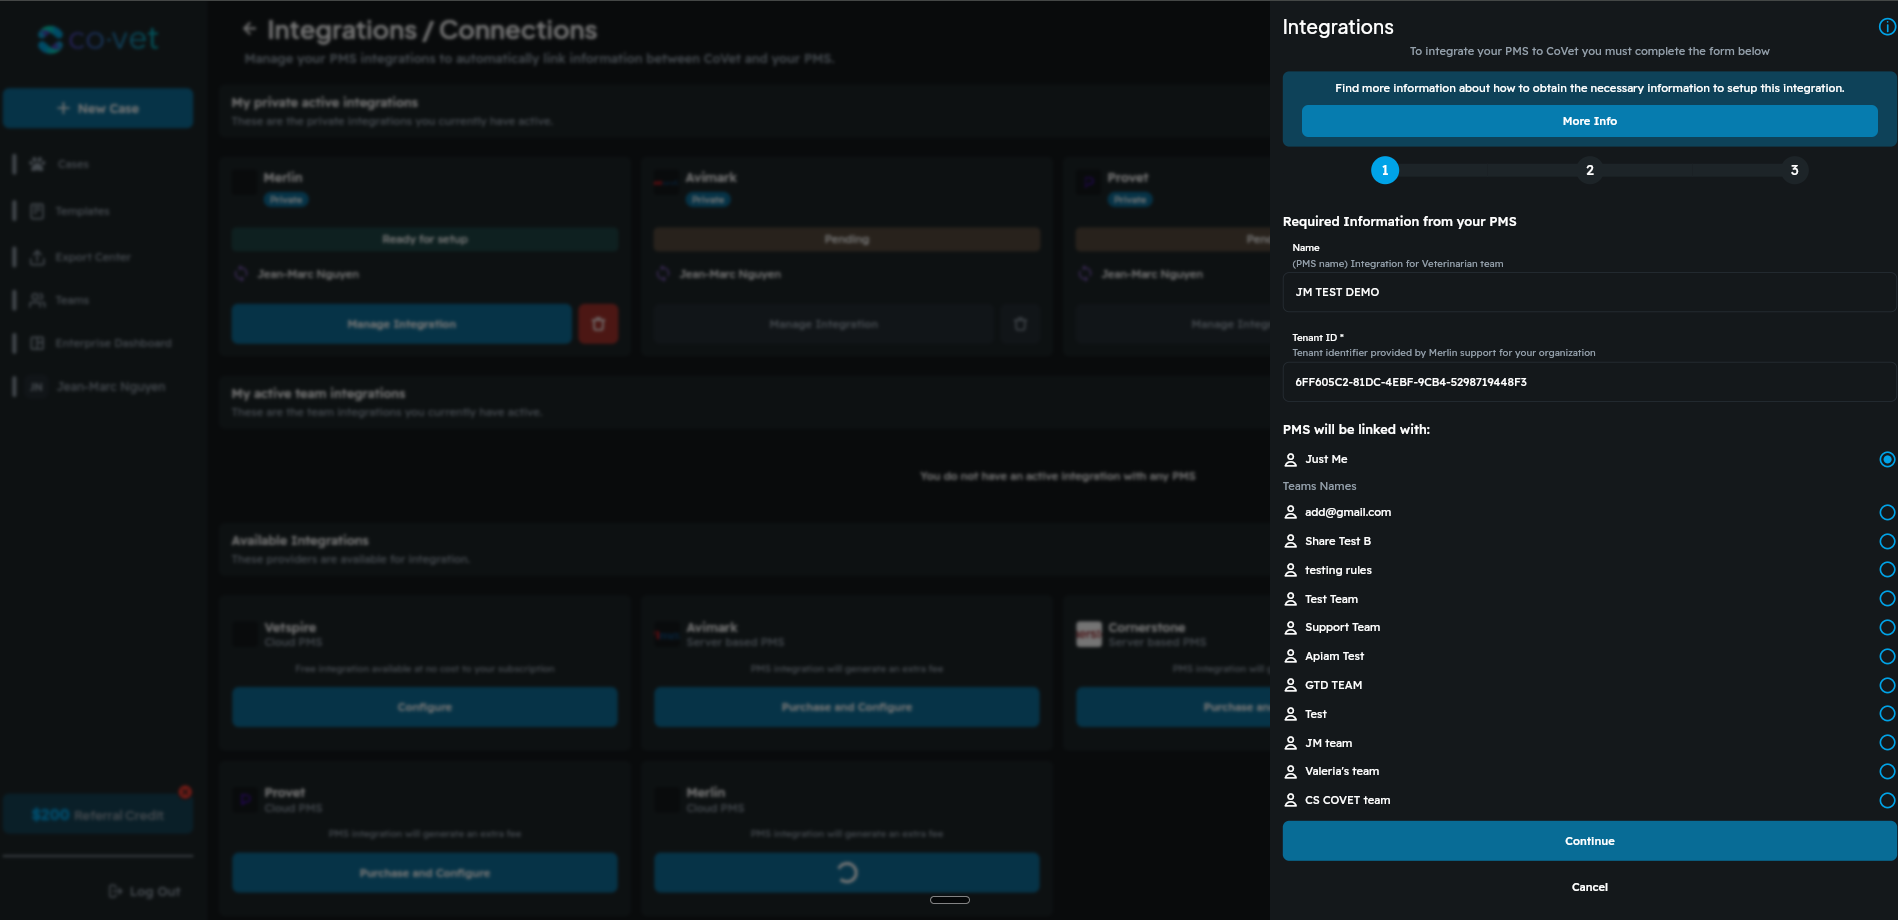
8. Choose account linking preferences and continue
On this screen, decide whether to link only your CoVet account or the accounts of everyone on your team.
Once you’ve made your selection, click Continue at the bottom of the page.
Once all information is entered, click Continue.
Setting up a single integration for the entire team is the most cost-effective option, and is preferable to setting up separate integrations for individual users.
9. Configure auto-import settings
On the next screen, set up your auto-import configuration. This determines whether CoVet will automatically pull appointments from your Merlin calendar into the Cases pages in CoVet:
- If you prefer automatic imports, select the Auto-import daily option.
- Choose your time zone and the hour of the day for the import to run.

9.1 If using auto-import choose your Time Zone and Hour here
Once configured, click Continue to proceed.

10. Map users to Merlin equivalents
In this step, map each CoVet user to their corresponding user in Merlin:
- For each user, click the Select a Veterinarian drop-down and choose the equivalent Merlin provider.
When finished, click Accept Mapping at the bottom of the page.

11. Review confirmation and import cases if desired
On the confirmation screen, you’ll see the scheduled auto-import time (if previously configured). From here, you can either:
- Cancel to exit the confirmation screen, or
- Import practice management software cases immediately by clicking the purple button.

11.1 To import cases now, click the Import button when ready to proceed
Choose whether to import cases for the entire team or select specific team members.
Decide if you want to import cases assigned to each member or only to select individuals.
Select a date range for the import:
- One day: imports today’s cases.
- Two days: imports today and tomorrow’s cases.
- Three days: imports today, tomorrow, and the next day, and so on.
When ready, click Import to begin the import process.

11.2 Complete setup and start using the Merlin integration
After importing, you will receive a confirmation message indicating that your cases have been successfully imported. At this point, your Merlin integration is ready to use.
Was this article helpful?
That’s Great!
Thank you for your feedback
Sorry! We couldn't be helpful
Thank you for your feedback
Feedback sent
We appreciate your effort and will try to fix the article