Getting Started with Coco
You have two ways to access Coco from you CoVet account:
Creating a new Template - From the Templates area of CoVet, click New Template at the top right and select Create with AI (Coco).

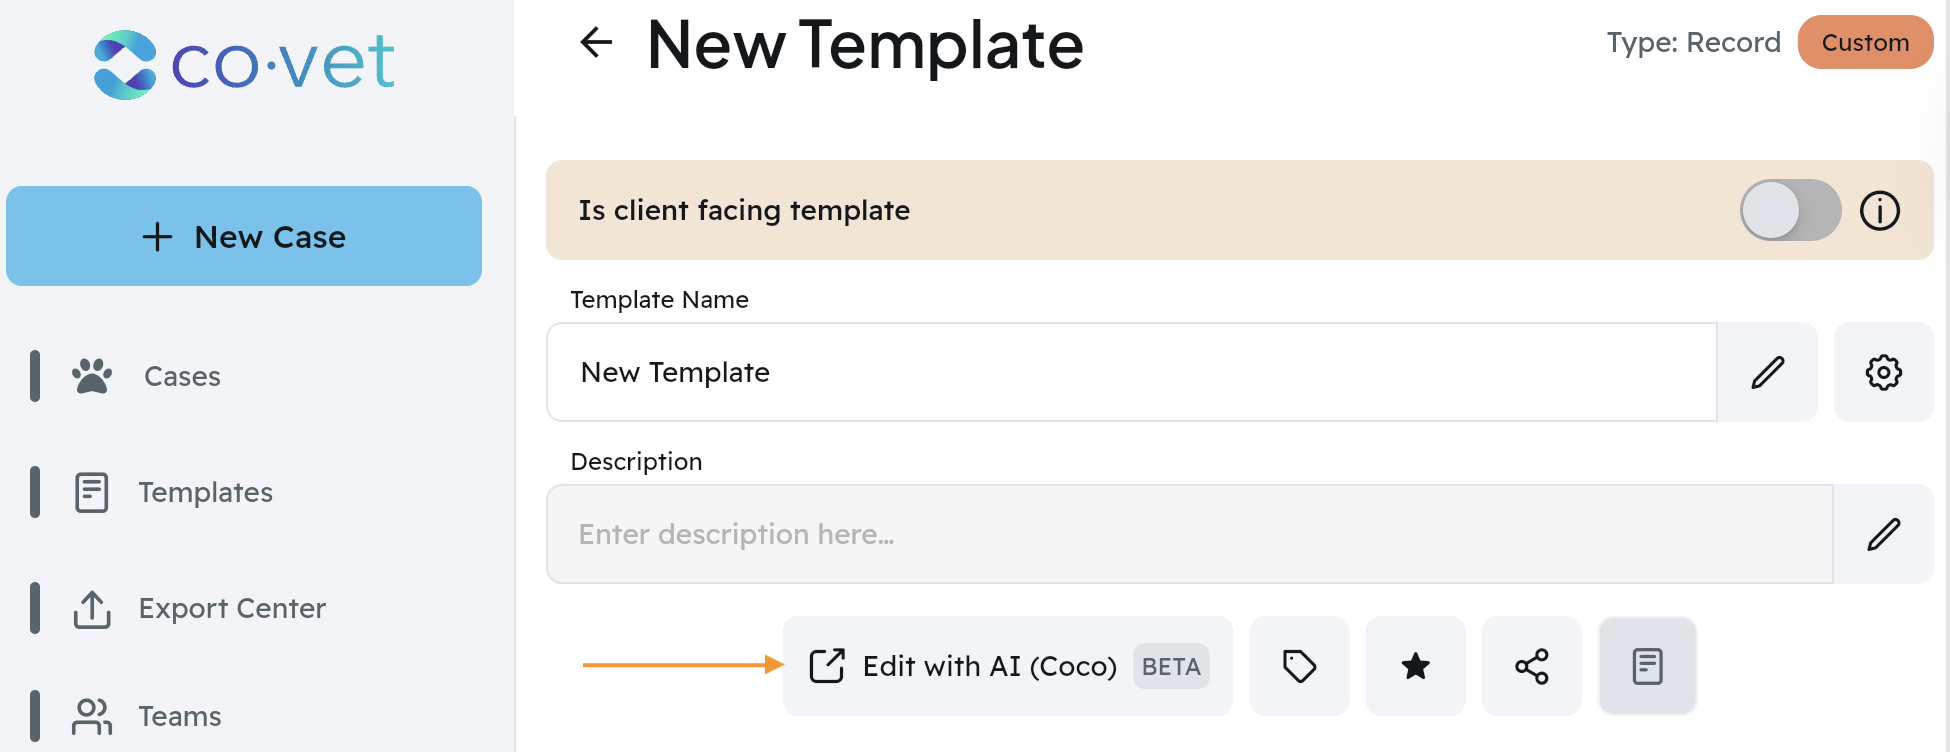
Editing an existing Template - From an existing Template, click Edit with AI (Coco).
Choose your template Name, Type, and Language to get started.
Optional: mark the template as a Client Facing Document so it is formatted for client use.
Optional: You can adjust the Preferred Input Type which is important if your template will be using a certain file type, such as PDFs or audio files.
Once your settings are configured, you can select Create Template. You will land on the Template Preview page to begin building.
Create the template
Provide source information to CoCo. You can:
Type text.
Record audio (allow microphone permissions in your browser).
Attach files for CoCo to analyze.
Importing an existing template via a share code.
Or build sections manually in Template Preview.
Let CoCo draft an outline. CoCo will propose section ideas based on the information you provided.
Review the draft comment from CoCo. Confirm that the suggested structure and tone fit your use case.
Adjust the structure as needed, then proceed to build the template.
Tips
Keep your inputs clear and concise. Headings and bullet points help CoCo create accurate sections.
Avoid client identifiers in template names or examples. Use placeholders like [PatientName], [Species], [AppointmentDate].
Edit and finalize
After CoCo creates the structure, sections are labelled (for example, Section 1, Section 2, Section 3).
Use the section checklist at the top to navigate, reorder, and track progress.
Edit freely: rename sections, add new items, change order, or delete anything you do not need.
Save your template when edits are complete.
Save Points
You can create a Save Point in CoCo to capture a version of your work.
Select the save point (button beside the gear) icon, choose Create Save Point, then copy the Save Point Code.
Share this code with the Support Team if you want help refining the template.
Testing
A built‑in Test the template function is available.
Settings
The option to edit the Template name, description, and type.
You can add Internal Notes for shared templates to leave additional insights.
Saving the Template from CoCo into CoVet
Select Save to CoVet (top right). You will have three options:
Override Existing Template. This will only appear if you were making changes to an existing template in your account. This override will update that template based on the changes you made.
Create New Template. This automatically saves the new template into your CoVet account. If you do not wish to override the older template, you can choose this option.
Generate Share Code Only.
Open the CoVet app and go to Templates.
Select Import with code (top left).
Paste your code. You will see the template name, description, and type.
Select Save to my templates.
Open the saved template to make any final adjustments and optionally mark as favourite.
Troubleshooting
Microphone not working: check browser site permissions and your system’s input device settings, then retry.
Nothing appears in Template Preview: refresh the page and confirm your input was added. Try smaller chunks if you attached a large file.
Export code not accepted in CoVet: generate a new code in CoCo, copy it again, and make sure there are no extra spaces when pasting.
Imported template missing sections: open the template in CoVet, review the structure, and re‑import after creating a Save Point if needed.
If you run into any issues while using Coco, please use the Get Help button found at the top right of the screen.
Coco Community
Once you have created a template, consider sharing it in the Coco Community. We also encourage checking out the Coco Community as a resource to review templates that have been created by other CoVet users.
Was this article helpful?
That’s Great!
Thank you for your feedback
Sorry! We couldn't be helpful
Thank you for your feedback
Feedback sent
We appreciate your effort and will try to fix the article